

How To Create A Website Using Microsoft Publisher
Welcome! Without a doubt, Microsoft Publisher is a very good tool that Office offers us to do different jobs, but not everyone knows how to use it properly. That is why in this article we will show you how create an HTML document for a web page in Microsoft Publisher in minutes.
Steps to Create an HTML Document for a Web Page in Microsoft Publisher
Here we will show you the steps to create a HTML document for a web page in Microsoft Publisher, which is a fairly straightforward process.
- To start, you need to go to the Windows menu by clicking on the "Start" button and then select the "All Programs" option.
- Later you will see that a list is displayed with all the programs that we have installed on our PC. Then select the folder that says "Microsoft Office" and this is where you will see the program icon "Microsoft Office Publisher" , click on it to start the program.
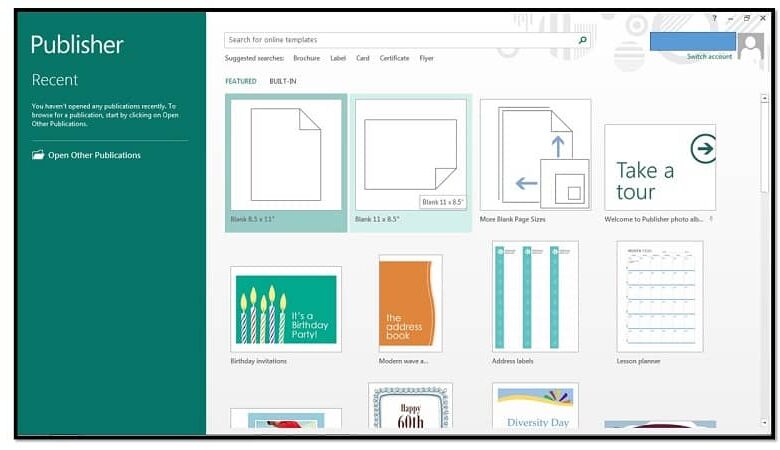
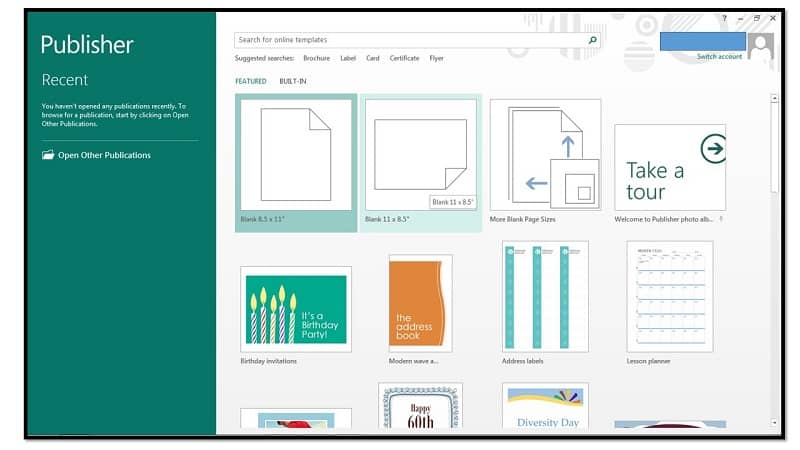
- Once you have opened the program, select the "Websites" option that you will see in the Microsoft Office Publisher introduction menu. Then you just need to click on one of the web page designs that will be shown below to create a blank document.
- You must now adjust the web page format that you create, for that, use the options of the column "Format of publication" which is on the left side of the screen.
- For example, to rename the web page, you need to go to "Page options" and then select the "Change page name" option. You can also adjust both the background and the layout as you like.
- Then for change the combination of colors and fonts that the web page will have, you need to click on the "Color combinations" option. You can also insert different types of fonts on the page by selecting the option "Combinations of Fonts".
- If you want to see what your website looks like, you need to look for the option "Website options" and then click on the "Preview" option which will open the page in a new browser tab.
- Finally, to properly save the file, you need to click on the 'File' option, then select 'Save As' and choose to save the file in Publisher format.
How to add advanced elements to our HTML file?
In case you already have the basic concepts when creating a HTML document for a web page in Microsoft Publisher and that you wish to deepen, we invite you to read this section where you will discover some advanced functions that this program offers us.
- First of all, you need to select the "Web" option which is at the top of the screen. A large list containing advanced options for the web page will be posted here . For example, you can add hyperlinks, navigation bars, and form controls.
- In case you need to add a navigation bar, clicking this option will give you a wide variety of styles for your website. By default, the text in the bar will be "Home", "About us" and "contact", but this can be easily changed. To do this, you need to highlight the default text that is on the bar. Moreover, you can also drag the edges of the bar to give it the shape you prefer.

- Then you can click on any of the navigation bar cells such as "Home" and select the "Navigation bar properties" option so that you can change it as you like.
- On the other hand, if you wish to insert a link, go to the menu and select the option "Add a link". Then a new window will open where you need to insert the link you want to associate to an item in the navigation bar. You can also add visual aspects, such as: adding shapes in Microsoft Publisher , inserting the WordArt tool and customization and resizing of the sheet .
- Finally, you need to save the file to keep the changes you made. To do this, select the "File" option, then "Save as". You must now assign a name to the file and select the "HTML" option found in the "Save as type" list.
As you can see, create a HTML document for a web page at the Using Microsoft Publisher is fairly straightforward, as you will be able to better master this aspect by practicing.

How To Create A Website Using Microsoft Publisher
Source: https://www.informatique-mania.com/en/applications/comment-creer-un-document-html-pour-une-page-web-dans-microsoft-publisher/
Posted by: washingtondishemeard.blogspot.com
0 Response to "How To Create A Website Using Microsoft Publisher"
Post a Comment